Easy DIY Oat Milk
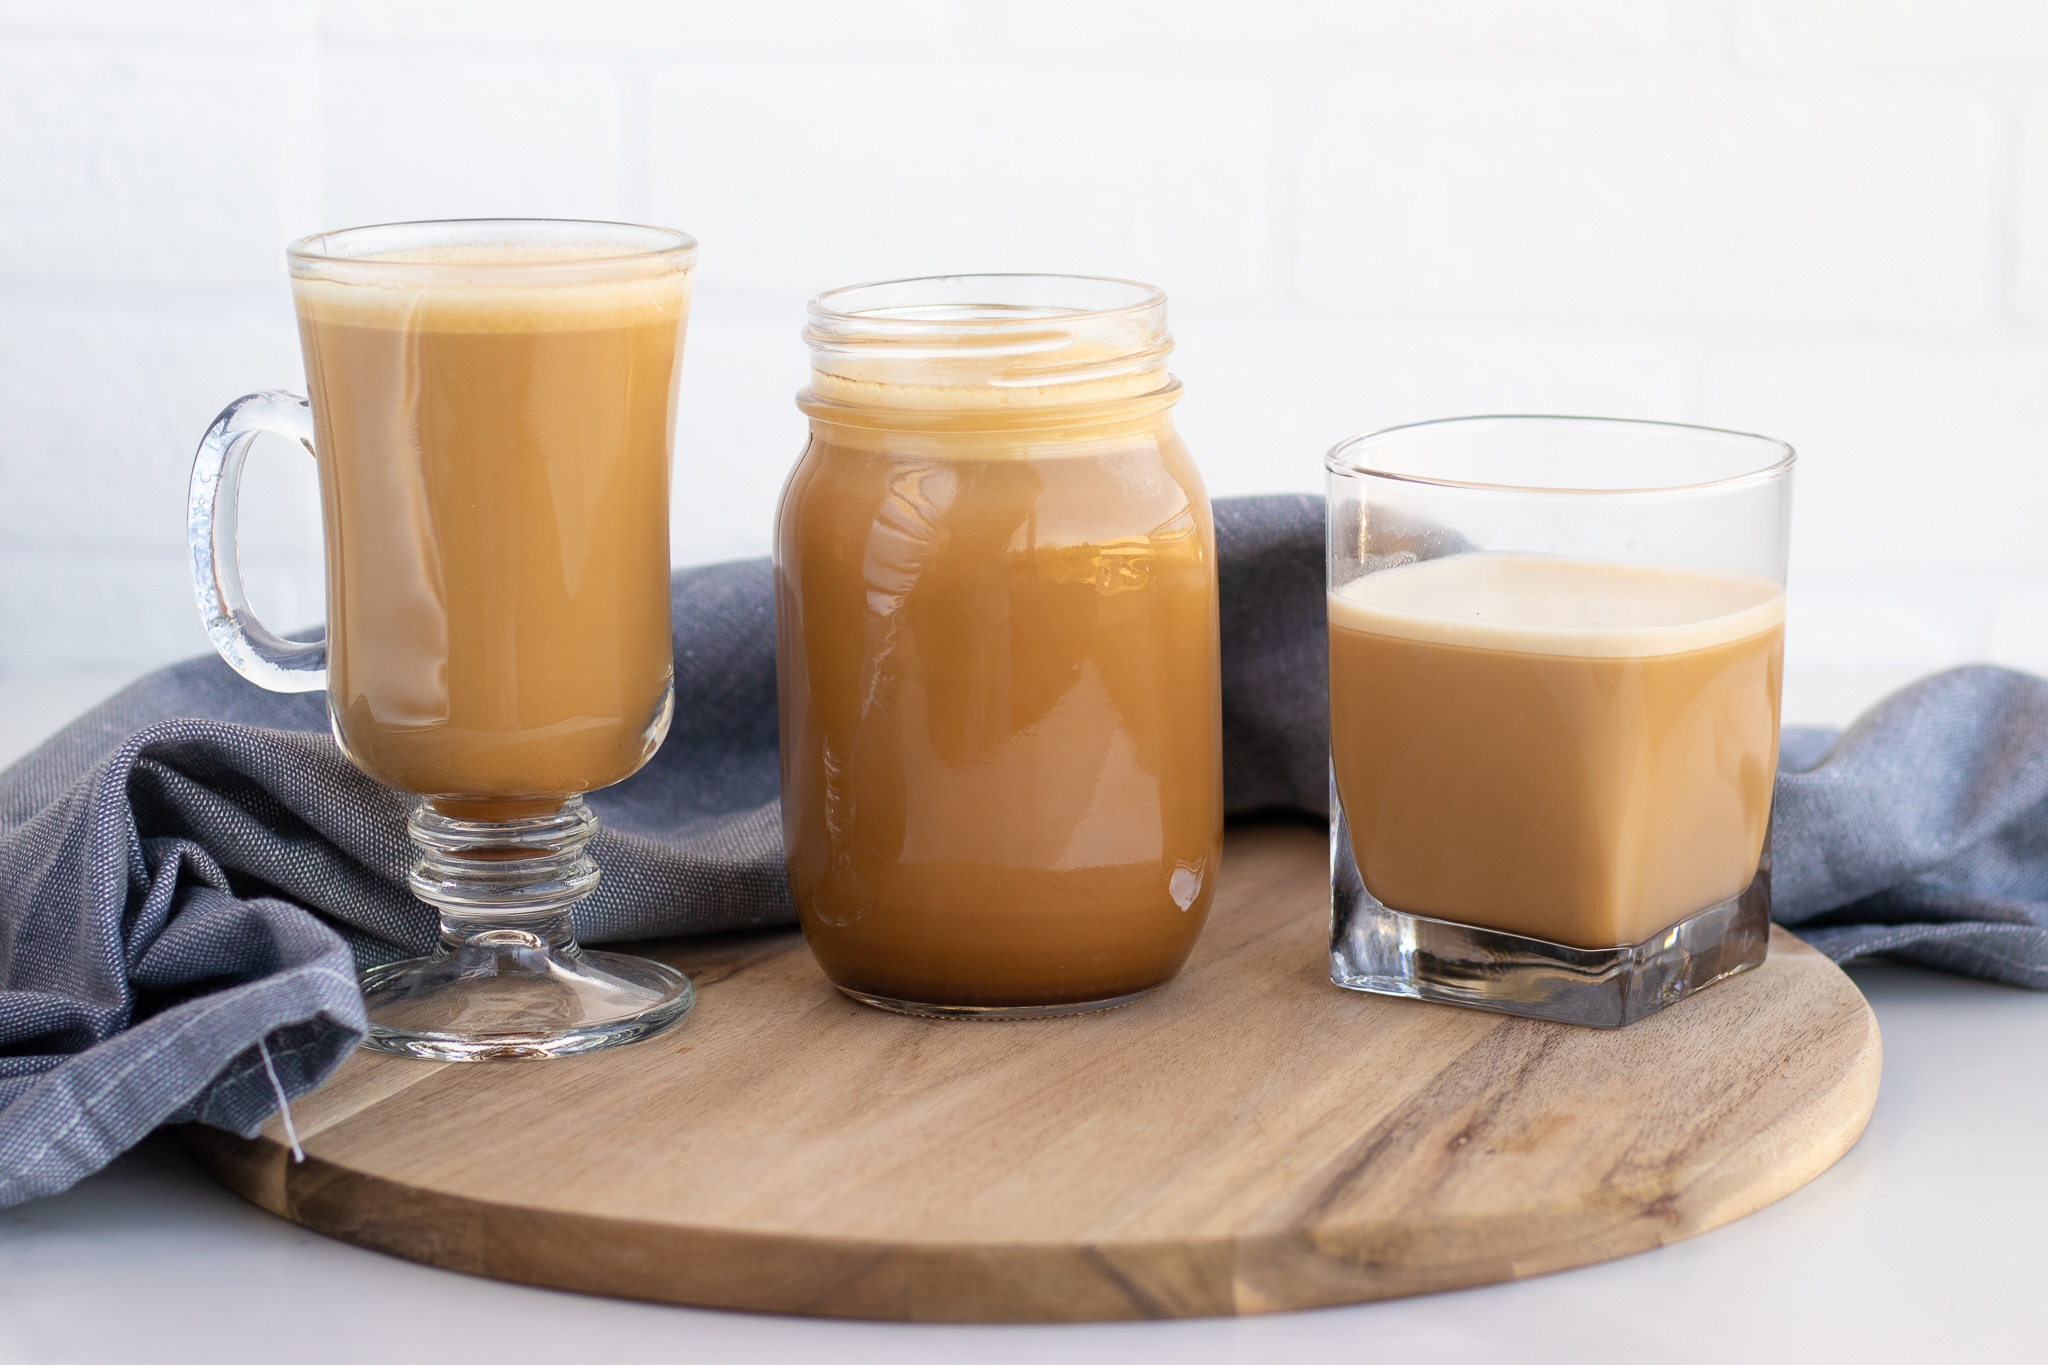
Introducing oat milk! The newest (and in my opinion, the best) addition to the world of non-dairy milk. There are unlimited ways to incorporate oat milk into your diet, from using it in your cereal, oatmeal, or granola to baking with it to just drinking a glass! My favorite use? As a replacement for coffee creamer. I love other types of non-dairy milk as much as the next plant-based person, but I find that it makes my coffee taste fruity (think coconut milk) or nutty (think almond milk) – neither of which I like. Enter, oat milk. It’s creamier than other non-dairy milk and has a milder taste, making it perfect for my morning brew.
While you can find oat milk in most grocery stores, it can also be easily made at home with a high-speed blender and five ingredients that I can almost guarantee you have in your pantry right now. Plus, making it at home ensures that there are no pesky preservatives on that ingredient list! So head to your kitchen and whip up a batch.
- 1 cup rolled oats
- 2-4 cups water
- 1 tsp vanilla
- 1 tbsp maple syrup (omit for sugar free option)
- Pinch of salt
- High-speed blender
- Add water, oats, salt, vanilla, and maple syrup (if using) to a high-speed blender. More water will result in a runnier milk that is good for drinking, while less water will result in a thicker, creamier oat milk that is suitable as a coffee creamer replacement.
- Blend on high for 1 minute until the mixture is well combined. Do not over-blend, as this can give it a slimy texture.
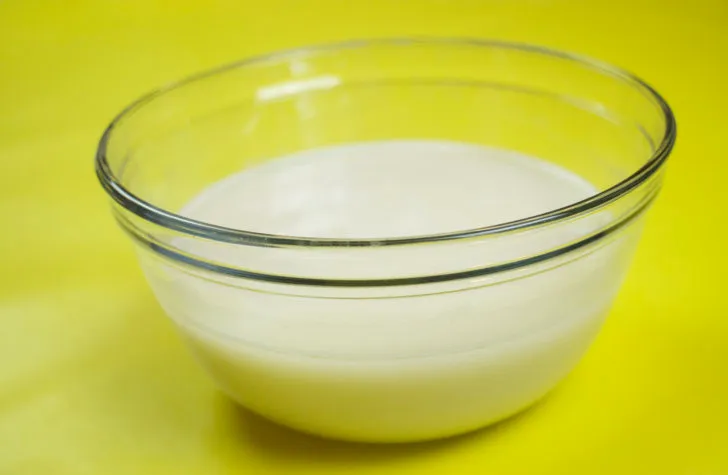
- Fold a large piece of cheesecloth up so that there are four layers (this will make sure all of the remnants are caught). Place over a bowl and pour in blender contents.
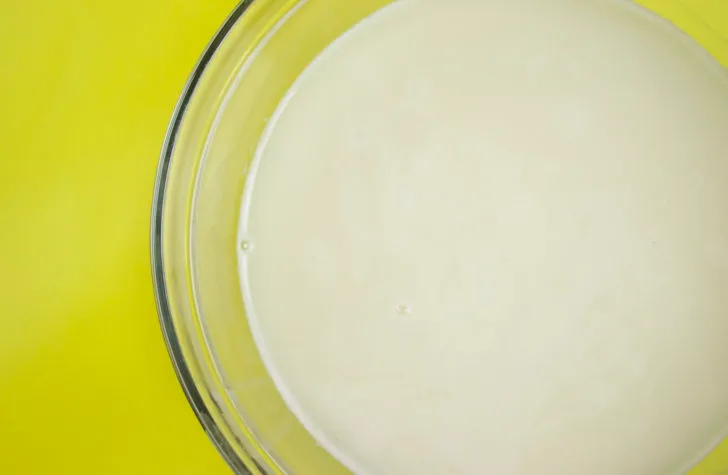
- Gather the edges of the cheesecloth and lightly squeeze the liquid through the cheesecloth into the bowl until all the liquid is strained.
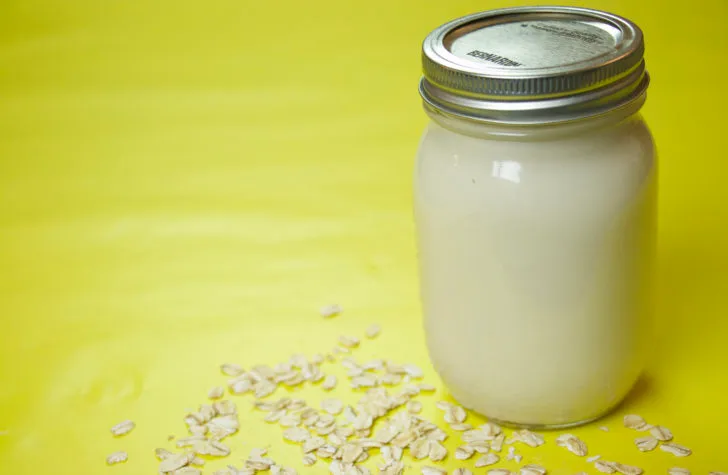
- Transfer to a seal container (like a mason jar) and store in the fridge for up to 5 days.
- Shake well before you use! Enjoy!


